

 India
Seven Steps on One Lead Record
Each step builds on the one before, and all of them happen on the same record.
- 01Sign Up
- 02Set Up
- 03Capture
- 04Assign
- 05Follow Up
- 06Quote
- 07Measure
The complete AliveCRM workflow in order, from creating your account to sending the invoice for a deal your team just won.
Each step builds on the one before, and all of them happen on the same record.
Register with your name, company and email, then verify the address from the link we send. The account starts a 7-day free trial with no card. A short guided tour points out leads, forms, calendar, reports and settings, and a Get Started card on the dashboard ticks off each setup task as you finish it.
In Settings, add your company profile, logo, currency and time zone, plus a tax ID and state if you will send invoices. Then decide what a lead looks like: edit the statuses for each submission type, add your lead sources, sort enquiries into categories and list the products, projects or services customers ask about.
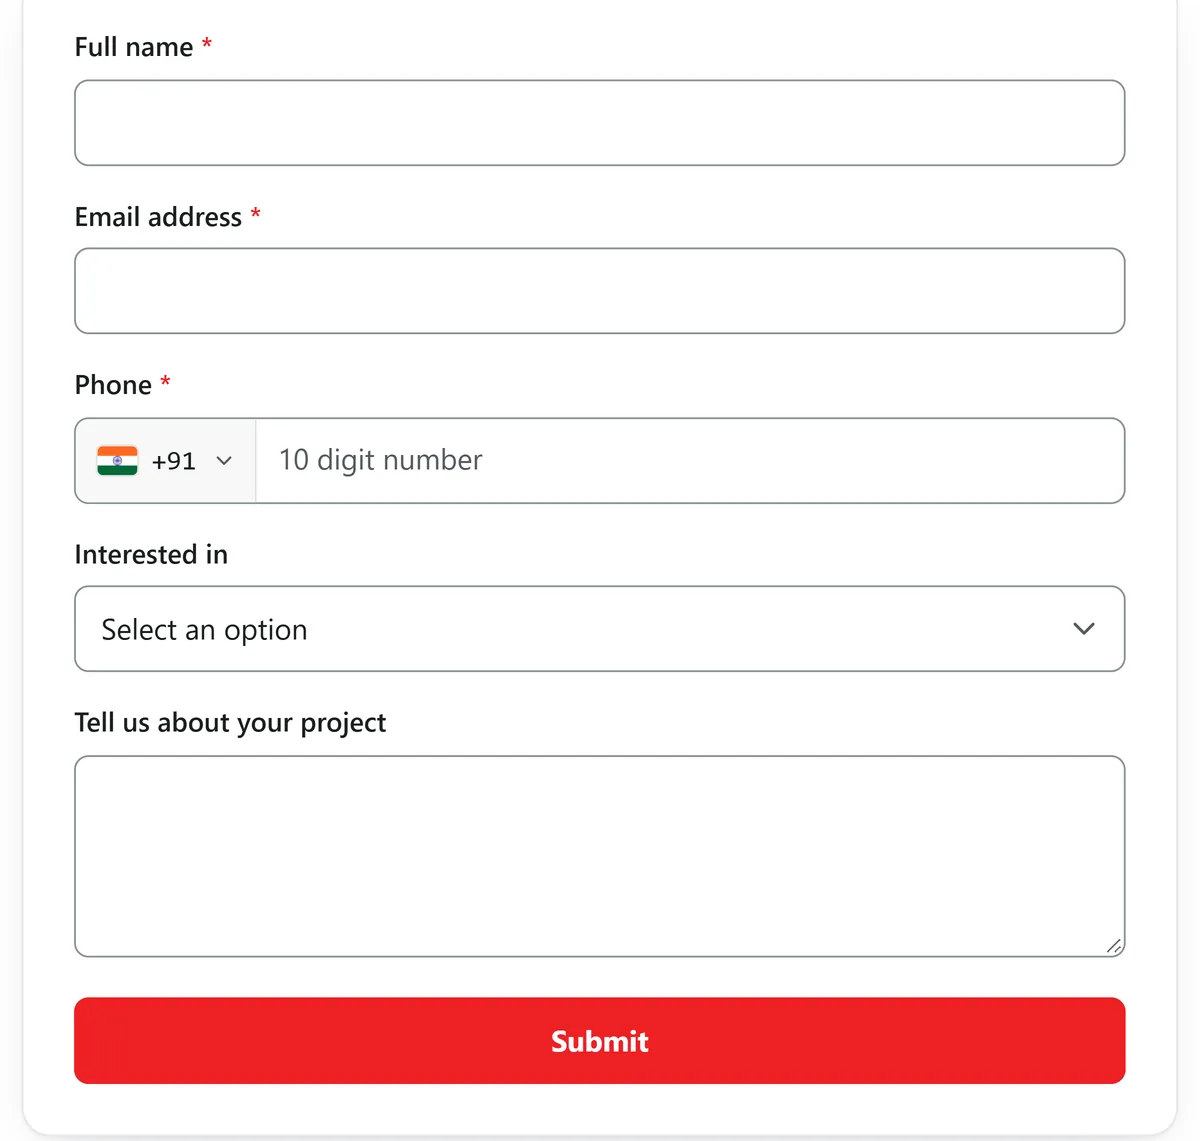
See Statuses and SourcesDrag fields into the form builder, add your logo and a thank-you message, then copy one script tag onto your site, a WordPress page or Google Tag Manager. Each submission becomes a lead with its source recorded. Leads that start in other tools can post to the form's webhook, and an existing list comes in by CSV import.
Invite colleagues by email. Each person verifies the address and sets their own password, then works under a role you define, with "self only" when they should see just their own leads. On the Auto-Assignment page, choose how new web leads are shared out, per submission type and per catalogue item where a specialist should take them.
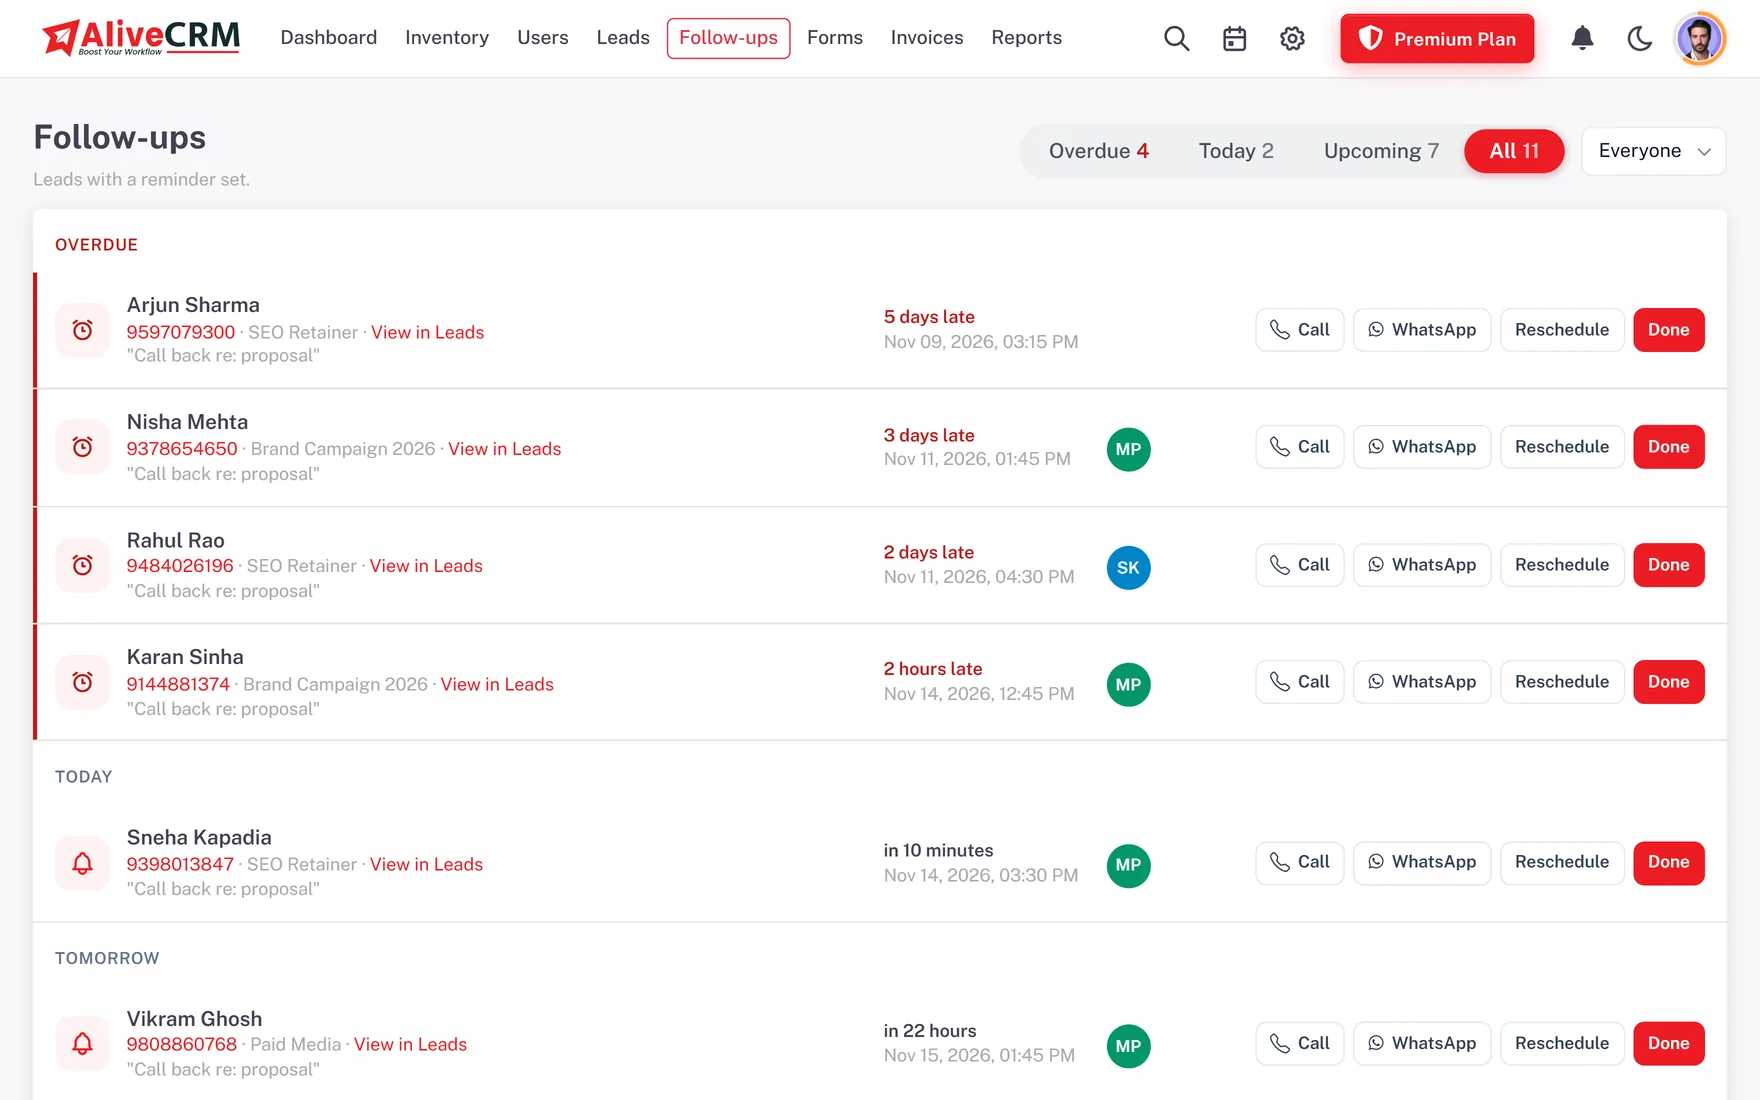
See Roles and PermissionsReps open their leads in a list or on a Kanban board, call with a tap and log the outcome. Each lead can carry a follow-up with a date, time and note. The Follow-ups page sorts everything into Overdue, Today and Upcoming, and alerts arrive in the app and on the phone, with SMS to your team on plans that include it.
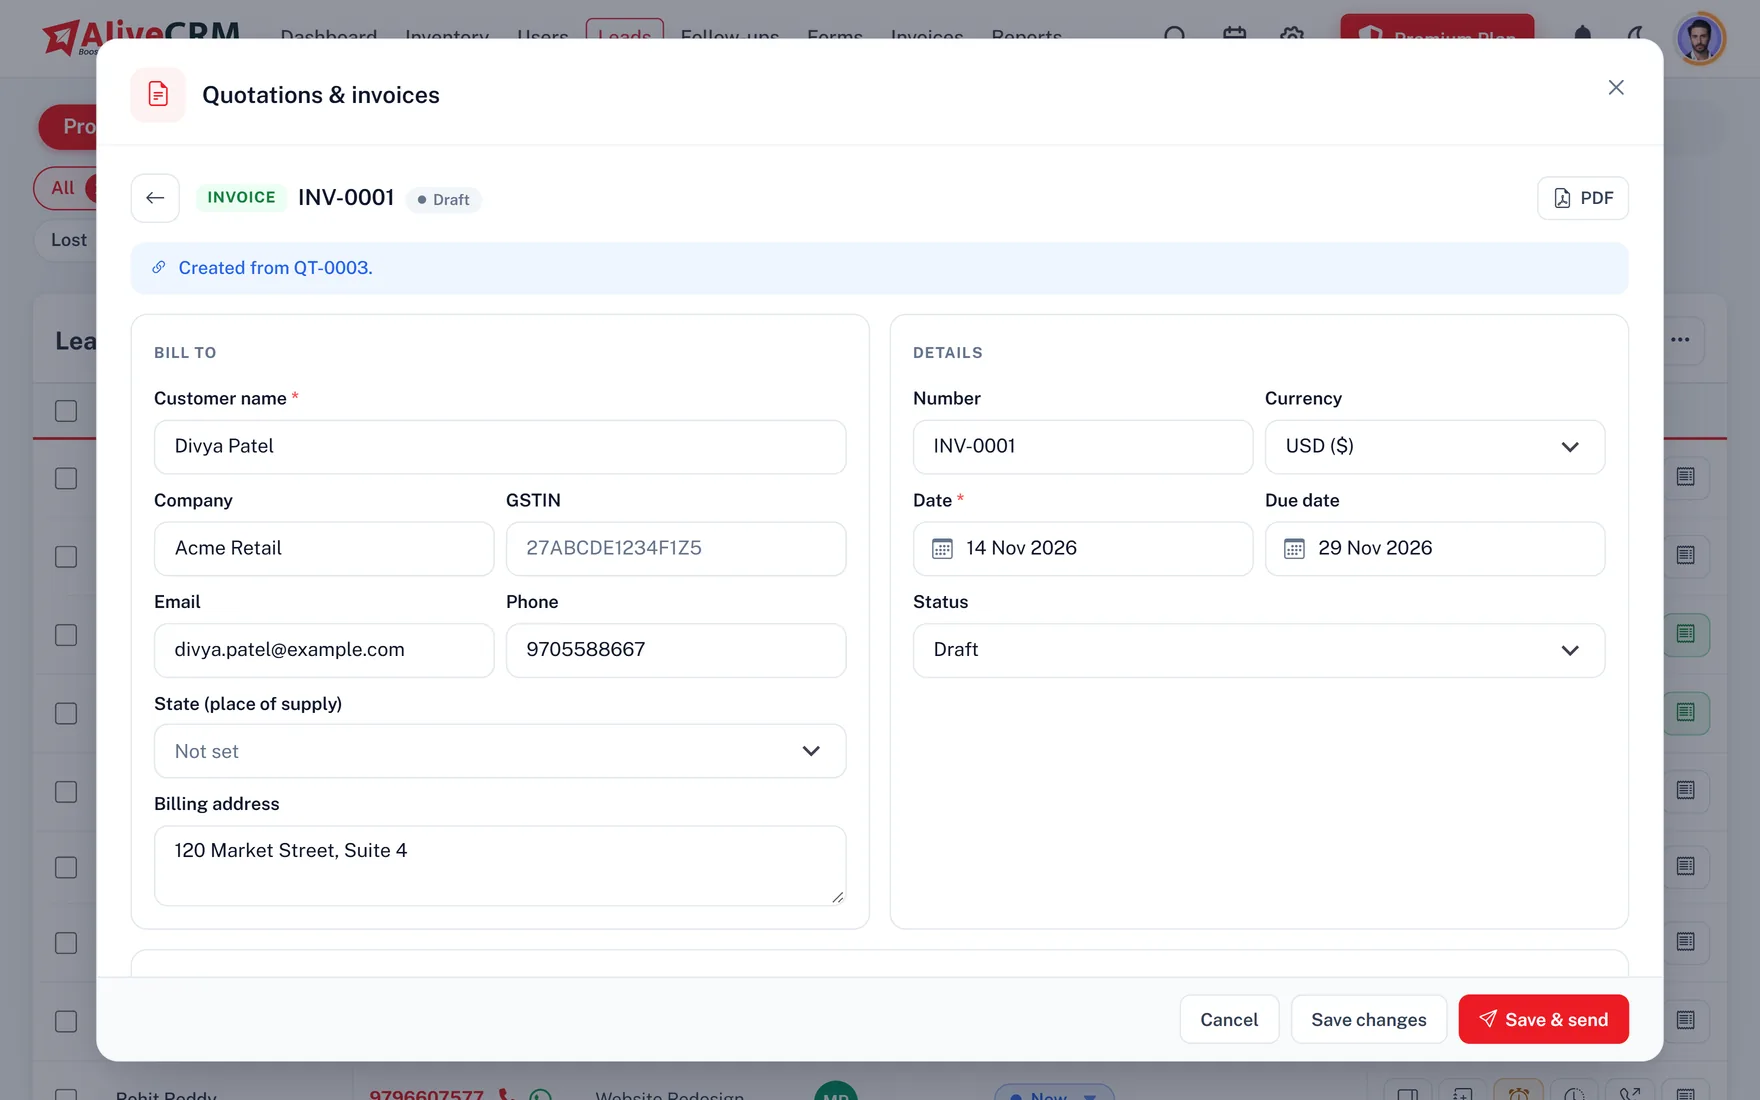
Create a quotation from the lead with line items, discounts and tax, then email it as a PDF or share a signed link. When the customer accepts, convert it to an invoice, record part payments as they arrive and issue a credit note if something changes. A fully paid invoice moves the lead to Won.
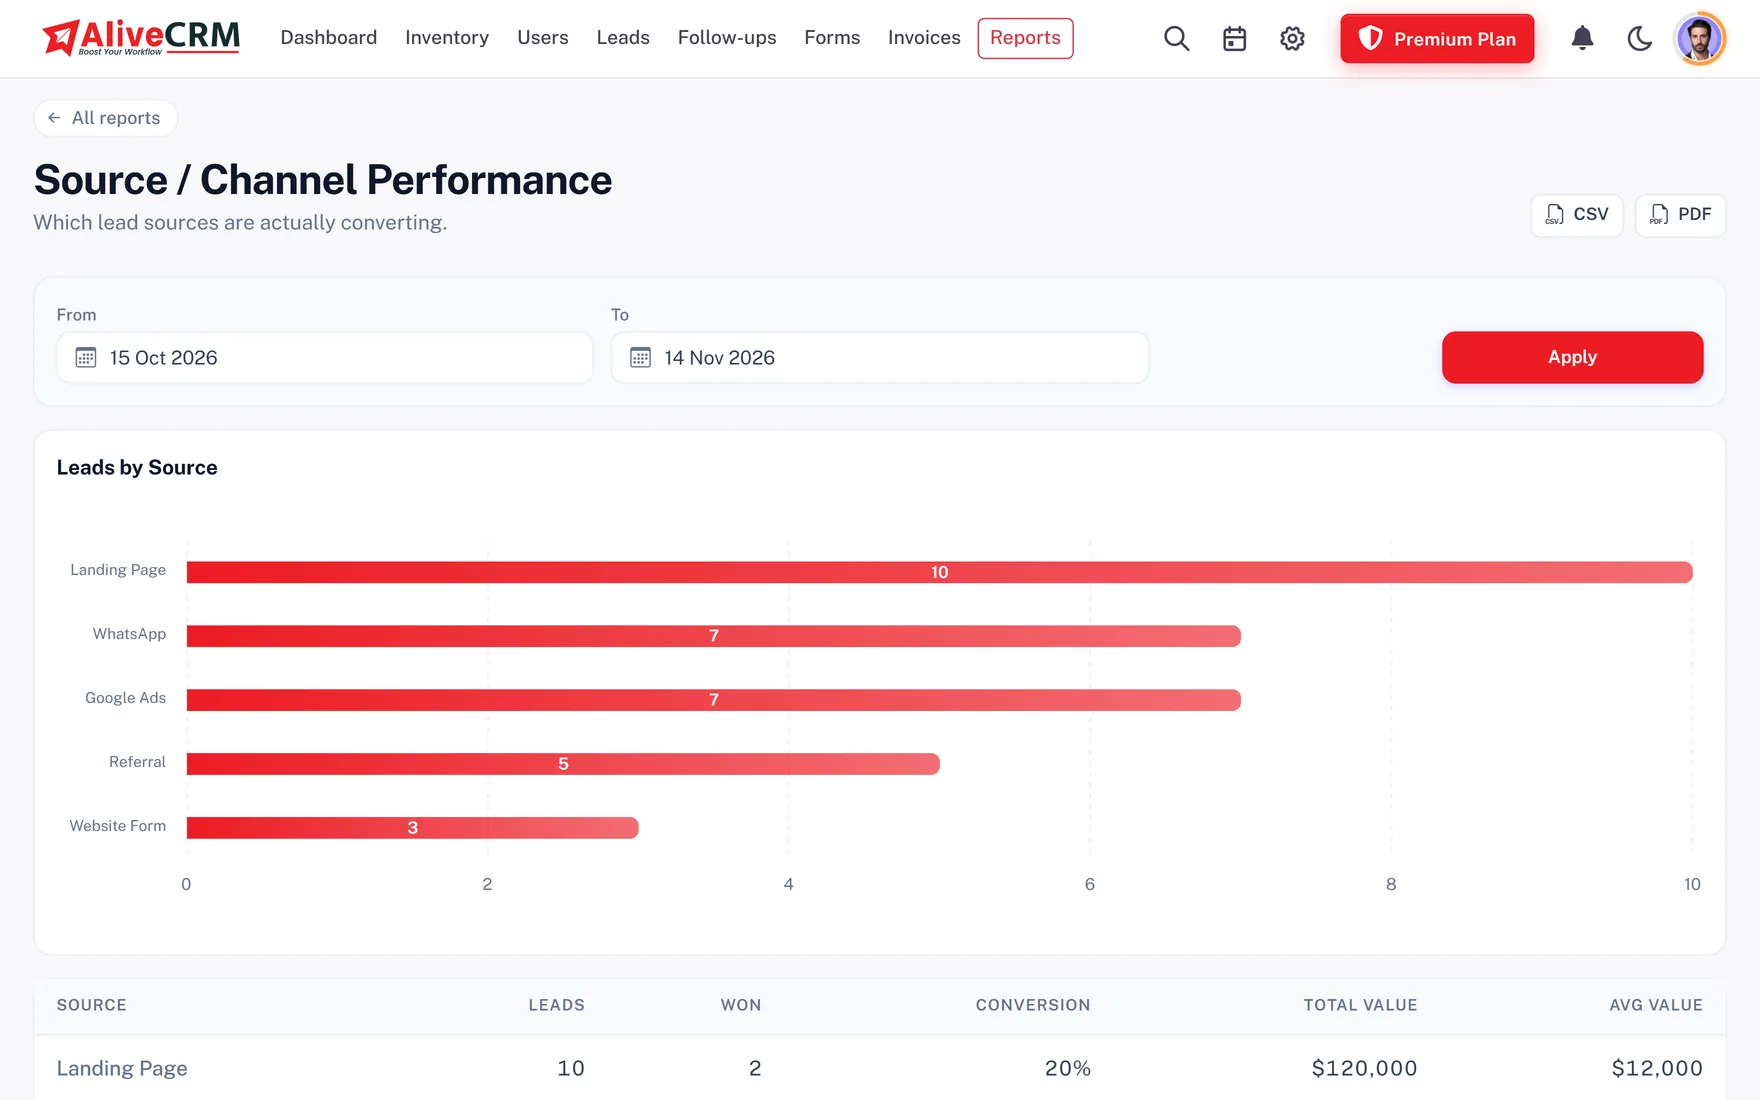
The pipeline report shows where every lead sits today. Advanced reports break results down by source, form, sales rep, category, lost reason and follow-up compliance, so you can see which campaign brings buyers and who needs help. Export any report to CSV or PDF for your weekly review.
The AliveCRM Android app covers leads, follow-ups, notes, forms, calendar, quotations and reports, and it can log calls from the phone's own call log. An iOS version is in App Store review.
Most teams finish the Get Started checklist in an afternoon: company profile, sources, one form and a first invite. Statuses and catalogue items can be refined later as you learn what you need.
No. Paste one script tag into a page, a WordPress block or Google Tag Manager. You can also share the form as a link without touching your site.
No. Assignment rules apply to leads that arrive through web forms. Imported and manually added leads are assigned by hand, which keeps a bulk import from flooding one person.
The account locks until you choose a paid plan. Billing, support tickets and data export stay open, and your leads remain in place.
Yes. Statuses, sources, categories, roles and assignment rules can all be edited at any time without losing the leads you already have.
Start a 7-day trial with no card needed and follow these steps in your own account.